
Microsoft announced Windows Autopilot end of June. Windows Autopilot is a collection of technologies to setup and pre-configure (new) Windows 10 devices. IT is able to customize the Out of Box Experience for Windows 10 devices. The end user connects the new device to the internet, logs on with the company credentials and in a few clicks the device is automatically Azure AD joined, Intune managed and software is deployed. All without the user making any decisions on settings and without the involvement of IT.
There are some prerequisites using Windows Autopilot:
- Devices must be registered to the organization
- Devices must be running Windows 10, version 1703 or later
- Devices must have access to the internet
- Azure AD Premium (for auto Azure AD join)
- Microsoft Intune or another MDM service (to manage the device/ roll out software)
Registering the devices
We first have to collect some information from the devices, to upload to the Microsoft Partner Center (later you should be able to use the Business Store as well). We need the device serial number, Windows Product ID and Hardware Hash. This information is uploaded with a csv file to the Partner Center.
To collect the information we need, we can use this script or collect it manually.
For the serial number run this query:
wmic bios get serialnumber

For the Windows Product ID have a look under Windows Settings, About or run this Powershell command:
Get-ItemPropertyValue “hklm:\SOFTWARE\Microsoft\Windows NT\CurrentVersion\DefaultProductKey2\” “ProductId”
![]()
And to get the Hardware Hash, run this query:
$wmi = Get-WMIObject -Namespace root/cimv2/mdm/dmmap -Class MDM_DevDetail_Ext01 -Filter “InstanceID=’Ext’ AND ParentID=’./DevDetail'”
$wmi.DeviceHardwareData | Out-File “$($env:COMPUTERNAME).txt”

Below an example of the csv file. An example file can also be downloaded from the Partner Center, where you need to upload yours.

Manage Windows Autopilot from the Partner Center
Now that we have collected the information, we need to upload it to the Microsoft Partner Center to register the device.
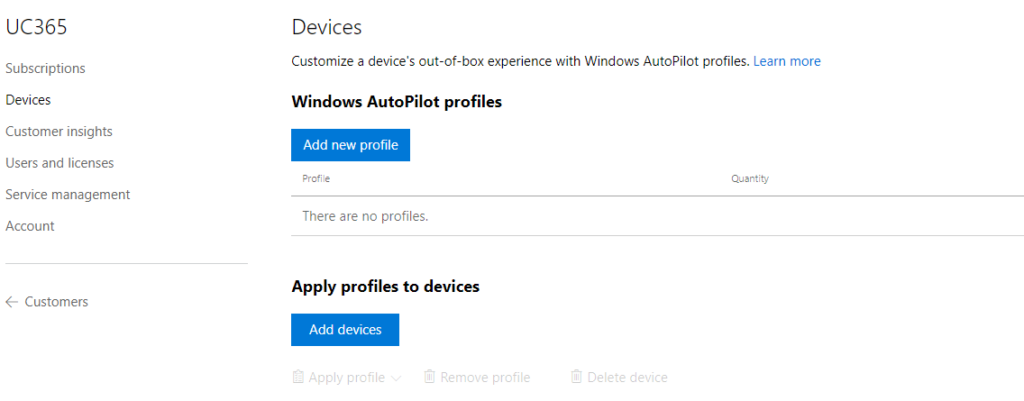
Open the Partner Center, find the Customer and click on Devices on the left side. We first have to setup an Auto pilot profile, click on Add new profile.
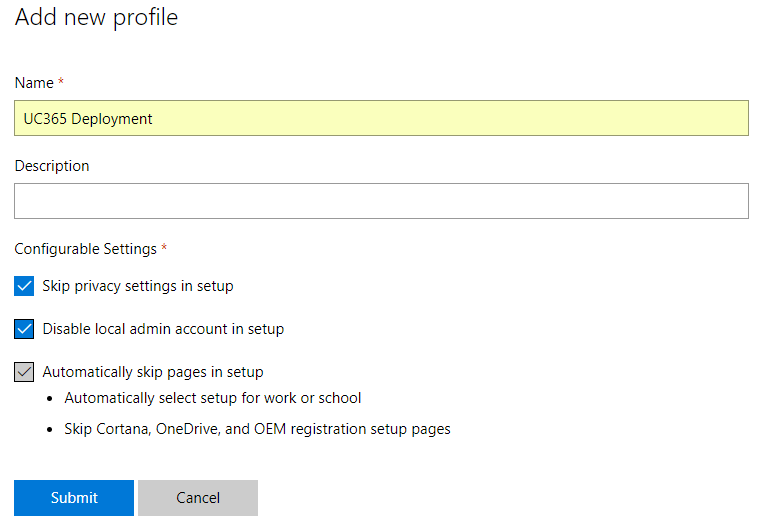
Enter a name for the new profile and set the settings you like. Select Skip privacy settings.
If you don`t want the user to be a local admin, select Disable local admin account setup.
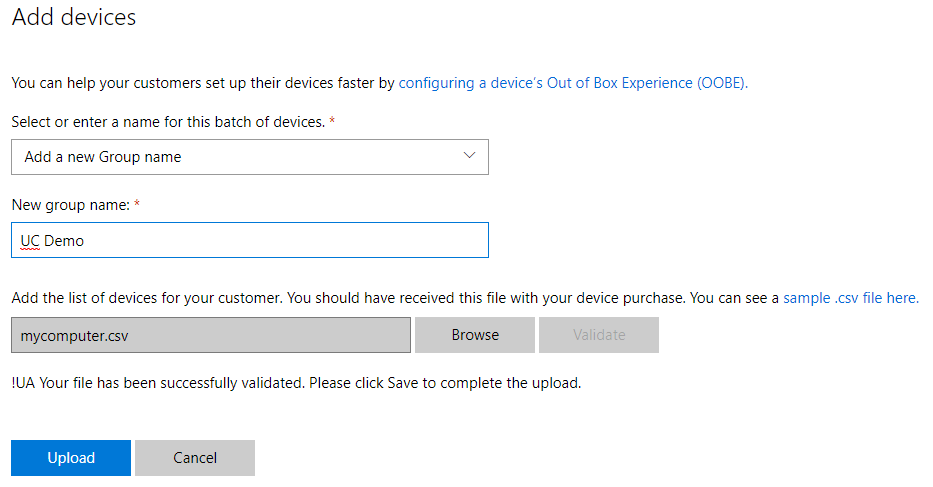
Now it is time to add the device. Select Add devices

Enter a group name for the devices you are uploading.
Browse to the csv file with the collected device information and click Validate.
After the validation is finished, click Upload.
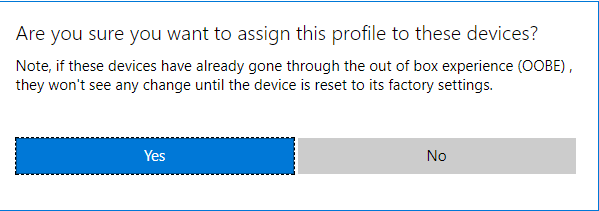
When the upload is finished, check the device, select Apply profile and choose the previously created profile to apply.

Click Yes to apply the profile and your finished.
The device is ready for Windows modern deployment with Windows Autopilot.
The end user experience with Windows Autopilot
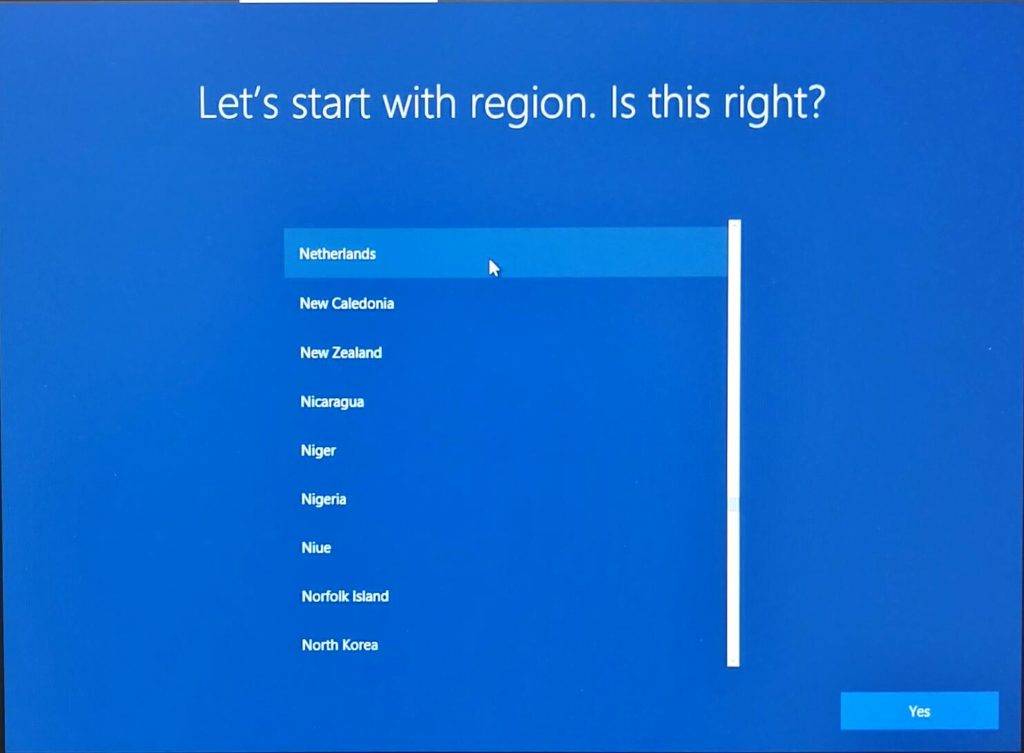
When the Windows 10 device is turned on, this is the first screen the users is presented with to choose the region.
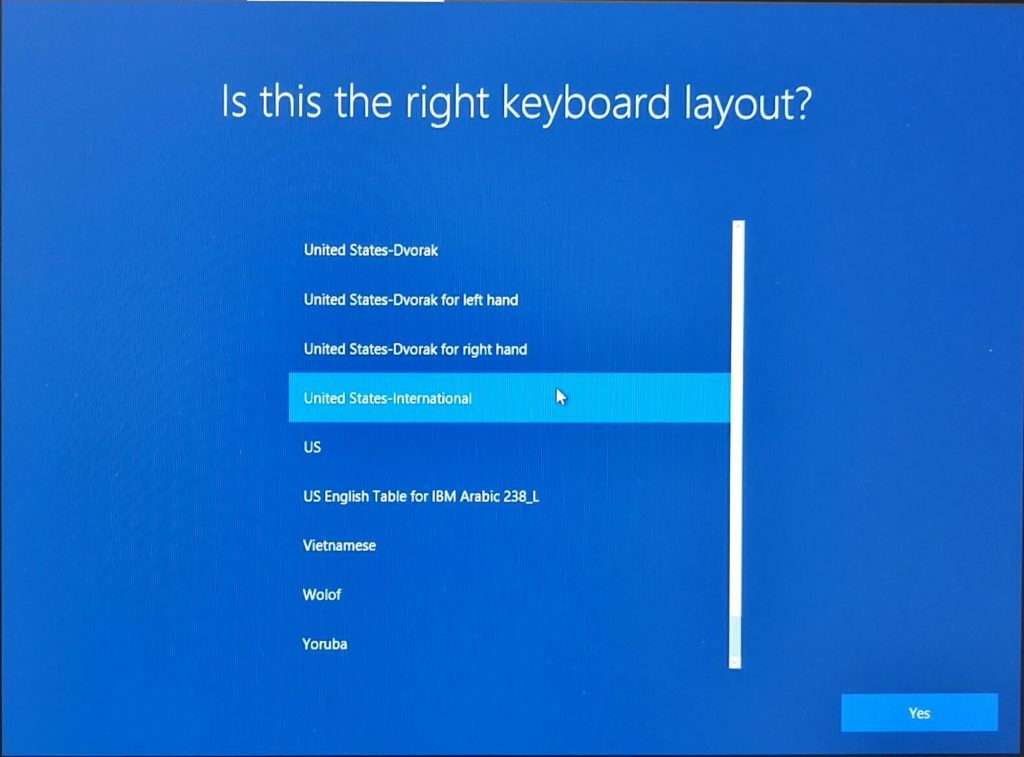
The second screen to choose the keyboard.
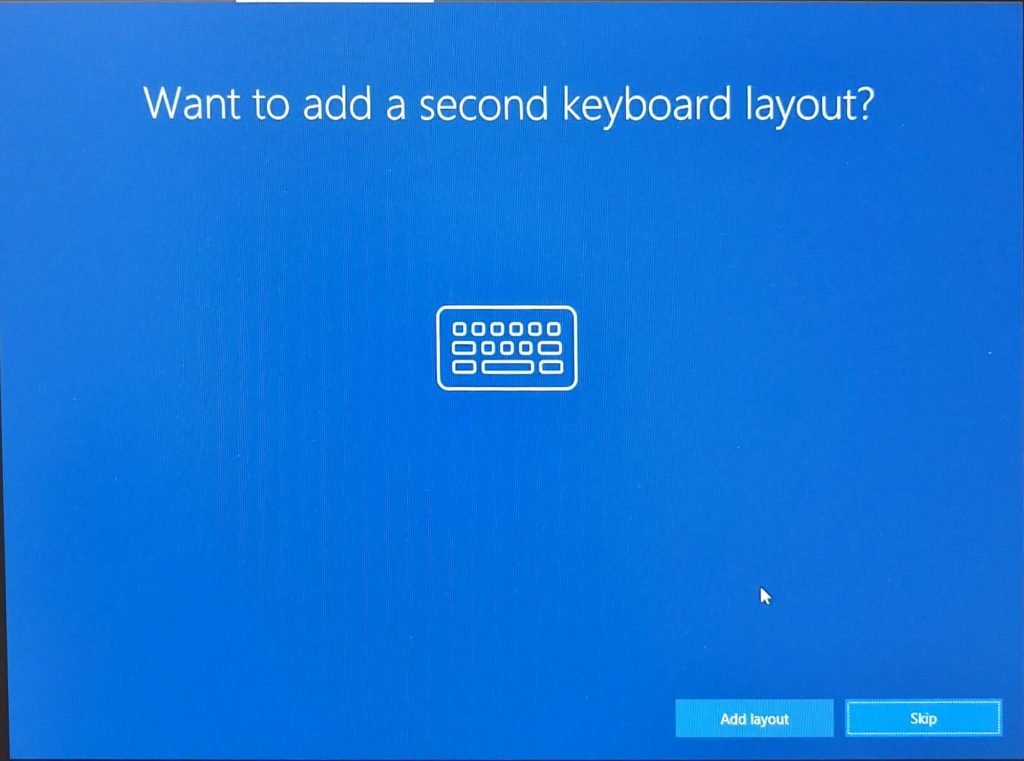
Question to add a second keyboard.
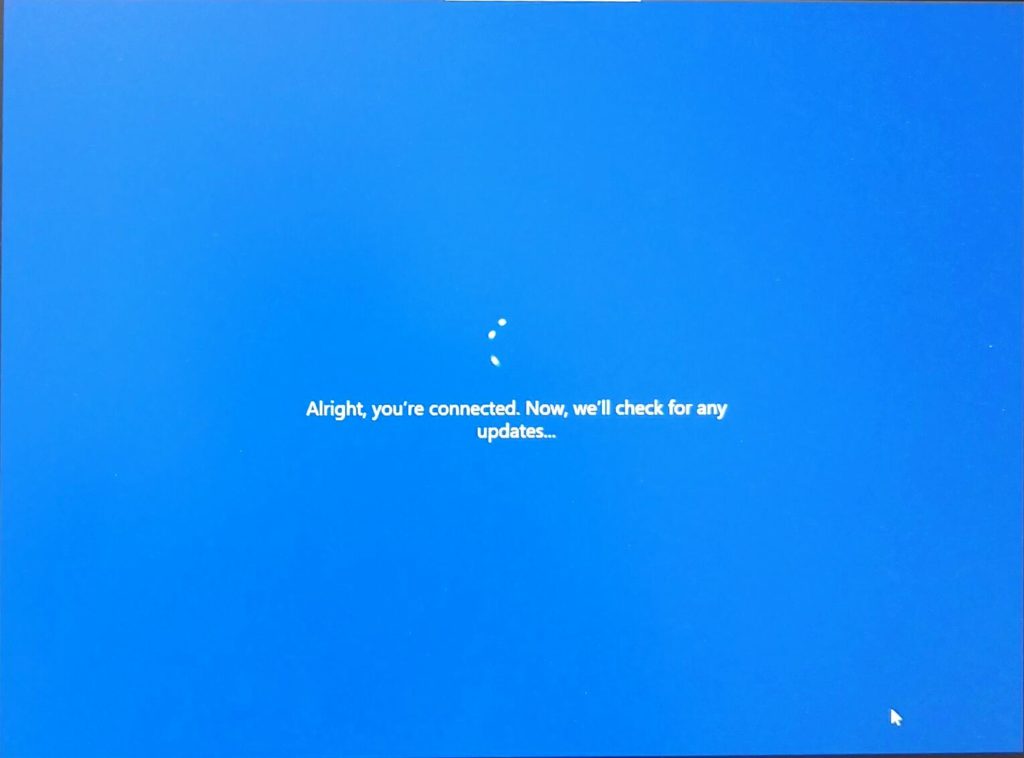
The next step, Windows will verify network connectivity. When the device is connected with an ethernet cable, Windows will perform a check to see it is a known device. When not yet connected to the internet, you`re asked to select a wifi network.
When it is a known device, you`re asked to logon with your company (Azure AD) account.
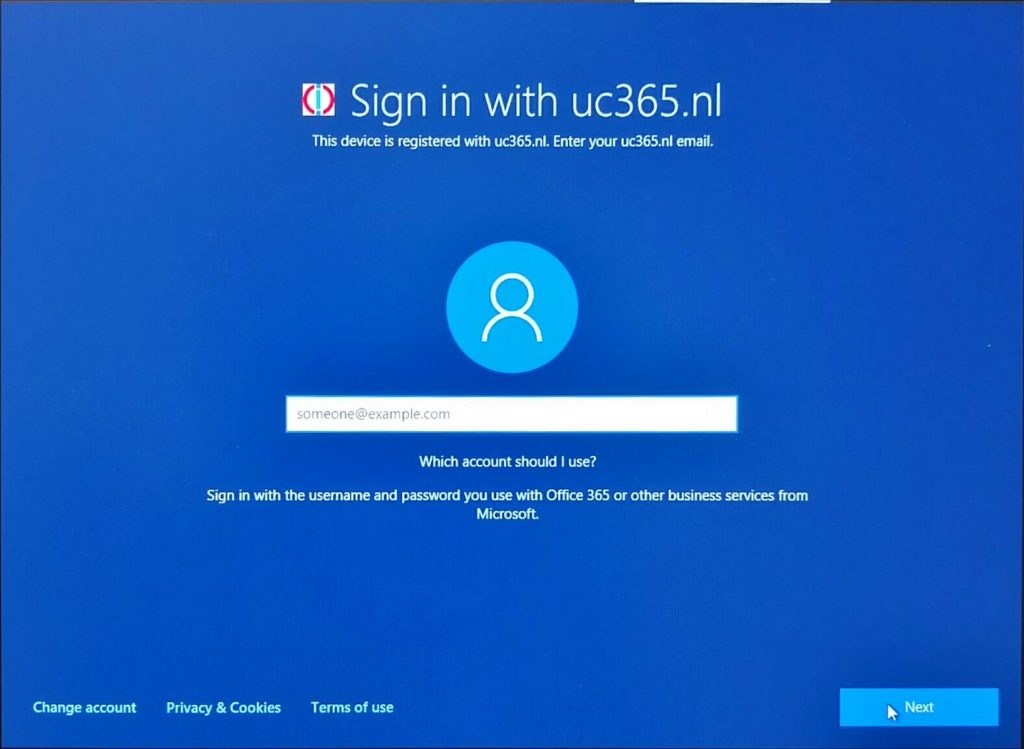
When authentication is successful, the device profile from CSP is pushed to the device, the device is Azure AD joined, MDM settings are affected and software is deployed. The end user is logged on and is ready to get some work done!
Later this year new capabilities will be added to Autopilot in the Windows 10 Fall Creators update.
Update July 20th: Add device from Business Store
Microsoft is rolling-out the options to add devices and create an AutoPilot profile in the Microsoft Business Store. you can find these option under Manage, Devices.
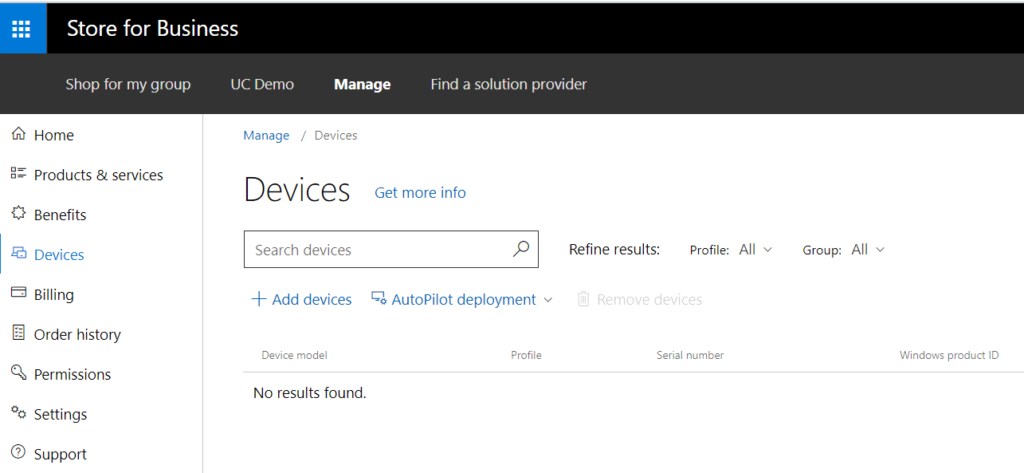
Creating a profile and adding devices works exact the same way as in the CSP as described above.

Hello,
Thanks for your post.
I am interested in AutoPilot now, so I have done it. But I have a question about process in progress.
There is a part that the product ID should be found out, In my case, I cannot find out the defaultproductkey2.
So, is It possible to use the defaultproductkey instead of defaultproductkey2??
I am looking for your reply
Thank you in advance.
Hi Park,
Compare the value of ProductId you find under defaultproductkey and the one you will find under Settings, System, About and you have your answer.
I have defaultproductkey and defaultproductkey2, but defaultproductkey contains a value with OEM in it which is different from what I see at Settings, System, About.
My hardware hash shows a long repeating ‘AAAAAAAAAA’ string after quite a long hash. Is this normal?
I have tested on a few Lenovo 1703 devices with the same result.
Hi Nigel,
Yes that is normal, see that in my string a well.
Hi,
My devices aren’t picked up by autopilot even though I’m online and all devices are added to the list of devices.
Any idea why this happens? (Or doesn’t happen?)
No sorry. Maybe something is wrong with your csv file which you use to add devices. Compare yours with the example csv file.
Hi Peter
Thanks.
My file hasn’t got the dashes in the serial, nor the product ID. Also the hardware hash is extremely long.
I’ve used the power shell script from Github.
When I use the script I don`t see the dashes either. There is also some sort of issue with the format of the output file, cannot upload it in the Partner Center. When I copy the line with the serial etc in the example file, than I`m able to upload the file and the device shows up. But I cannot test Autopilot because it`s my own laptop 🙂
Or use the separate commands to collect the information and put it in the example file and try it that way, I see more people have issues with PS:
wmic bios get serialnumber
Get-ItemPropertyValue “hklm:\SOFTWARE\Microsoft\Windows NT\CurrentVersion\DefaultProductKey2\” “ProductId”
$wmi = Get-WMIObject -Namespace root/cimv2/mdm/dmmap -Class MDM_DevDetail_Ext01 -Filter “InstanceID=’Ext’ AND ParentID=’./DevDetail'”
$wmi.DeviceHardwareData | Out-File “$($env:COMPUTERNAME).txt”
Hi Andreas, need any help?