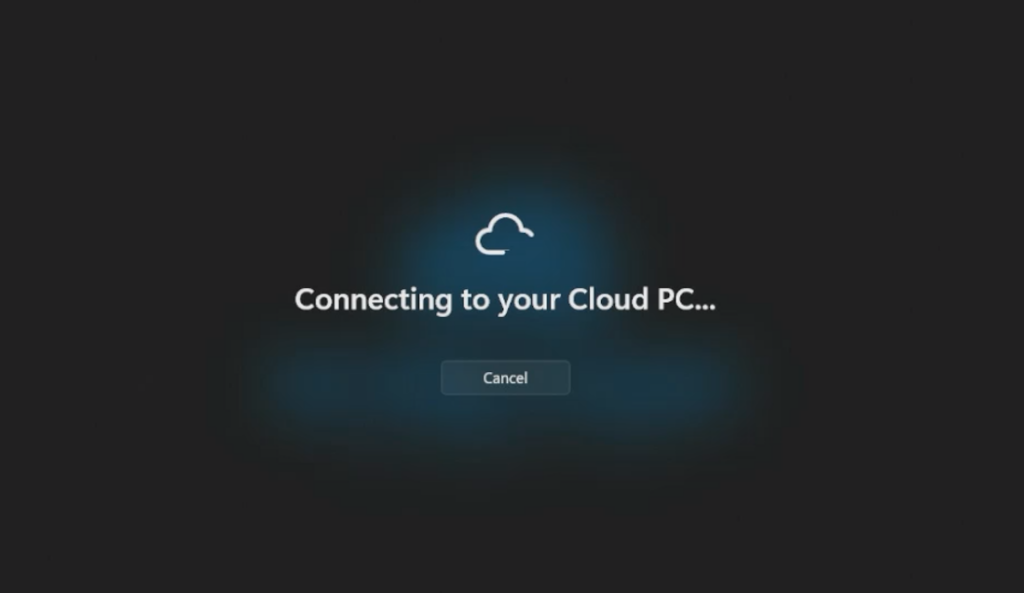
Some time ago Microsoft released a new feature called Windows 365 Boot.
Windows 365 Boot allows users to sign in to Windows 365 and immediately connect to their Cloud PCs when they sign in to their local device.
This is some sort of kiosk-like device which allows the user to connect to their Windows 365 machine immediately.
Intune and Windows 365 folks of Microsoft made it very easy to deploy a complete set of Intune profiles to set up a Windows 365 boot machine with a guided deployment. In this guided deployment, we only need to make a few choices on settings we want, assign the deployment to an Entra group and we’re ready to enroll our first physical device in a couple of minutes.
But what surprised me was that we need to start enrolling these devices by authenticating with a user account! Microsoft, why!?
Kiosks and shared desktops can be automatically enrolled using Windows Autopilot self-deploying mode! So why wouldn’t we use that deployment mode for our Windows 365 boot device?
Besides that, when an user starts the enrollment, this user is assigned as primary user of a device. Something you don’t want when you setup these devices in shared PC mode.
I have no idea why we shouldn’t, thus let’s have a look at this implementation.
Set up Windows 365 boot self-deploying devices
We need to sign in to the Microsoft Intune admin center. We browse to Devices, Windows 365. Here we find Windows 365 boot under Windows 365 Guides.
On the Instructions tab we can read what Windows 365 boot is and what we need to continue the setup.
On the Basics tab set a check mark if we want to use a Device name template. We need to enter a Resource prefix name (this name will be used in all the configurations automatically created) and select which type of Windows 365 boot mode we want to configure.
At the bottom of this tab is described which resources are created when we have finished this guided setup.
On the Endpoint updates tab, we need to select a couple of settings related to our Windows Update settings.
On the Settings tab, we can select our preferred language and max connection time out.
And we can also enter a company name, and URLs to a logo and lock screen picture.
As last, we select an existing Entra group or create a new group to add our physical devices.
An overview of the setup is shown.
When we finish the guided setup, the resources are all created in a few minutes.
And we are ready to enroll our first device, by authenticating with user credentials :(.
That is what we don’t want. Let’s change that part of our configuration.
In the Intune portal, browse to Devices, Enrollment (under Device onboarding).
On the Windows tab, select Deployment Profiles.
Here you will find a deployment profile from which the name should start with the resource prefix name previously entered.
As you can see the Deployment mode on this profile is set to User-Driven.
Copy the value behind Enter a name, so you can use this in the new profile we create in the next step.
Remove the assignment from this profile (and delete the deployment profile).
We need to create a new deployment profile for Windows PC.
Make sure to select Self-Deploying as Deployment mode. Switch Apply device name template to Yes. Enter the naming template you copied in the previous step.
Assign the deployment profile to the Entra group and we are ready to automatically enroll our Windows 365 boot devices!
Make sure your device meets the requirements for Self-Deployment mode. Connect the device to an ethernet connection and power, and turn it on to start the automatic enrollment!
In my configuration, I deployed a couple of additional settings. As I didn’t have a security baseline deployed to the boot devices, Windows Spotlight stuff popped up on the lock screen, thus I blocked that with a setting. Besides that, I deployed some settings related to power management, so these devices don’t hibernate after a couple of minutes.
And these kinds of devices are ideal to use in combination with FIDO2 keys, thus I deployed a configuration that sets the FIDO credential provider as default.
These settings are all optional.

